
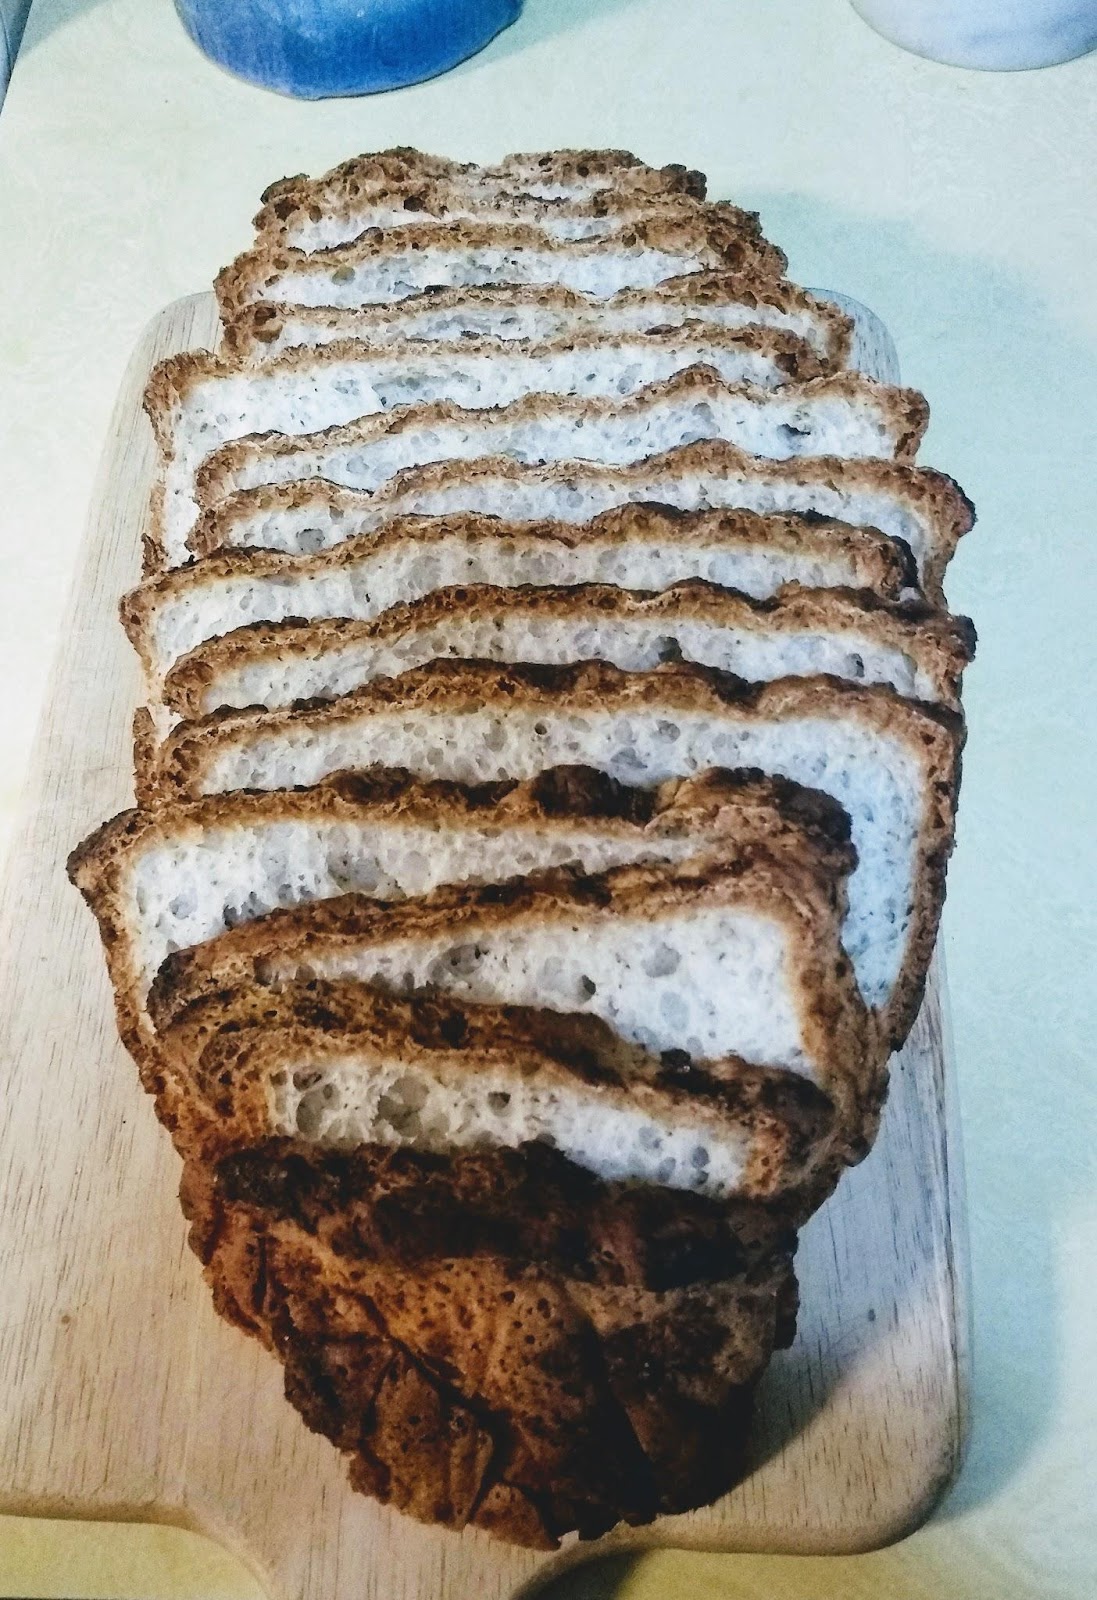
Dan’s Artisan Bread recipe:
This is a finely honed gluten-free bread recipe. It makes excellent toast and amazing grilled cheese sandwiches. Dan cools his loaf, then freezes slices for easy and quick thawing. The bread heels are great for chopping up and using as bread crumbs or croutons.
Dan sometimes makes sandwich buns with the same recipe. We bought some round egg rings from a restaurant supply store and use them to keep the soft dough from spreading out in the oven. They form a nice high-rising bun shape.
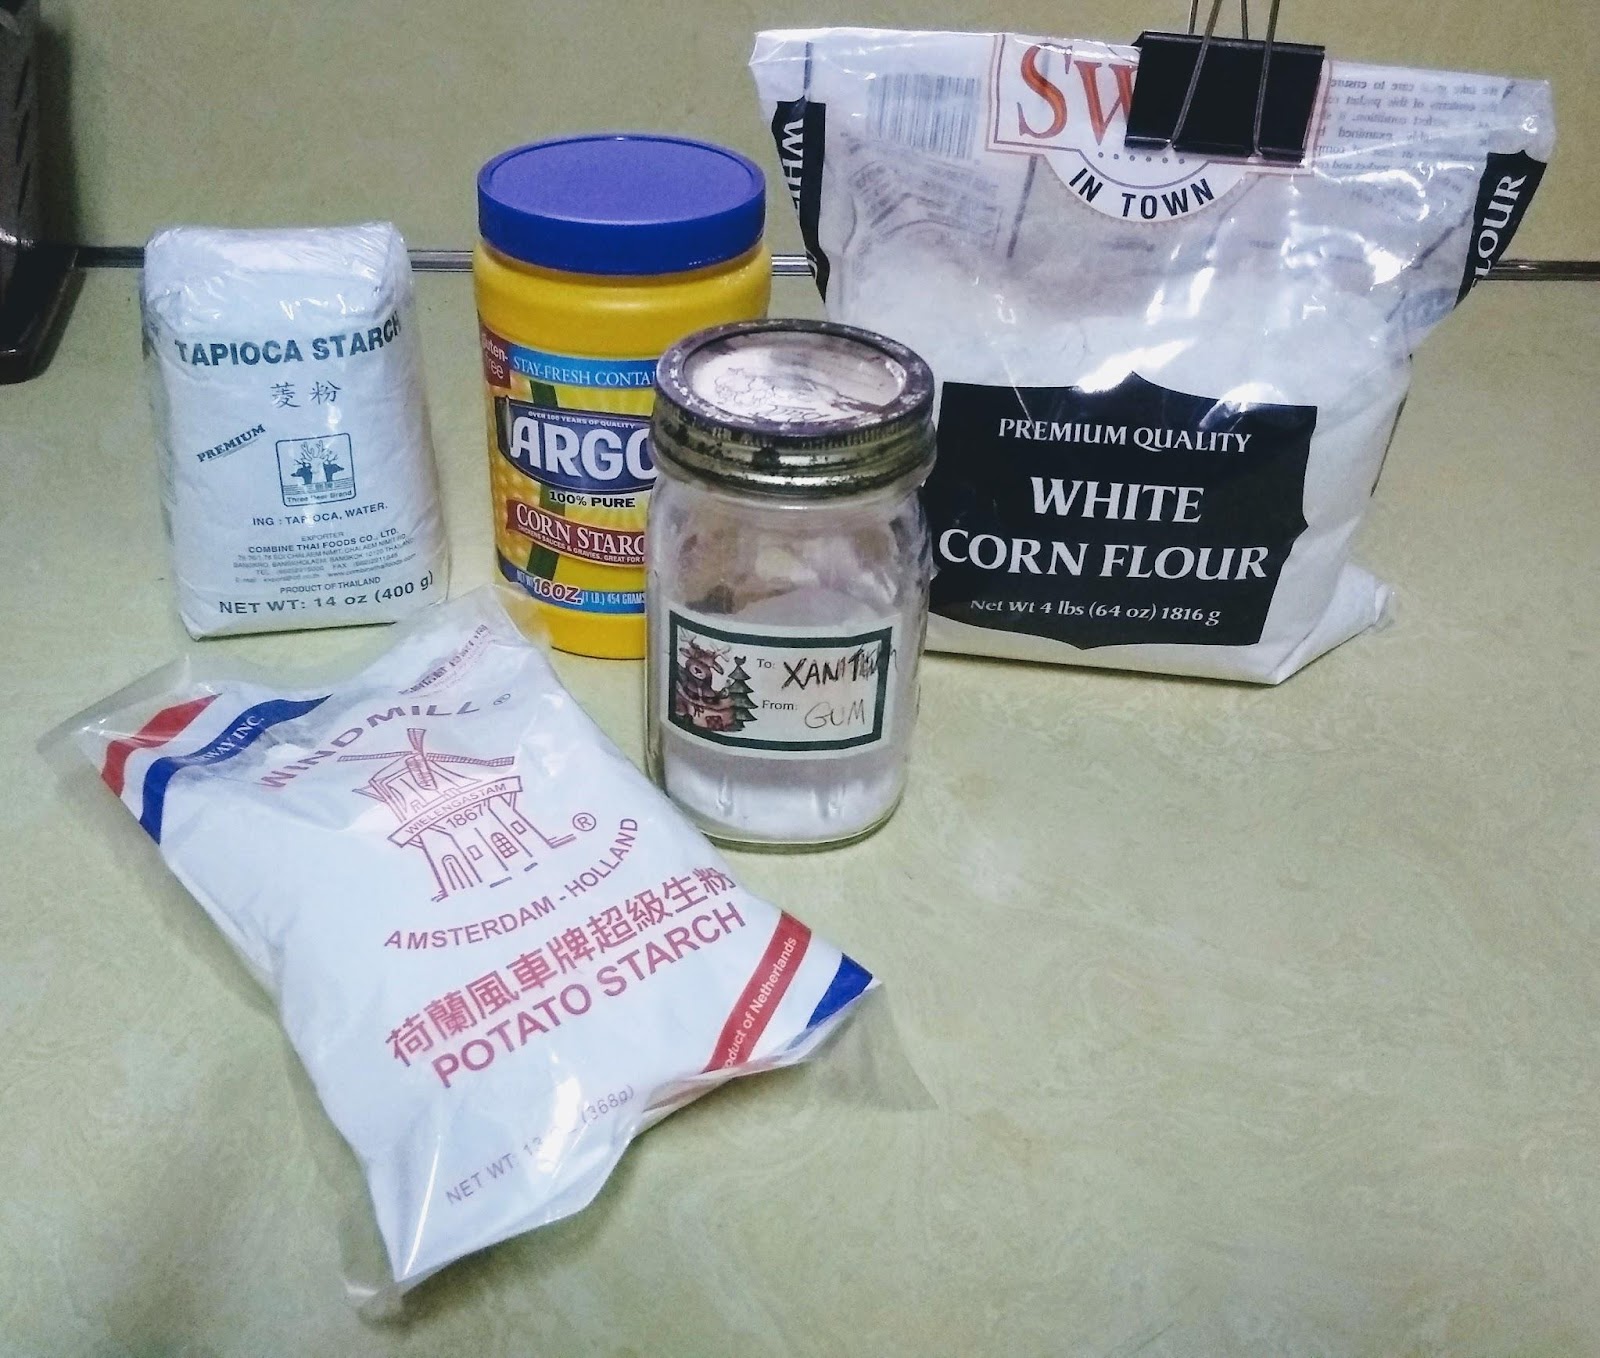
Here are the ingredients:
1 1/4 cups tapioca starch
1 cup potato starch
1/2 cup sorghum flour (this can be variable, I am now using 1/4 cup white rice flour + 1/4 cup corn flour - these just need to be flour not starch. Can also use buckwheat flour, brown rice flour, etc. )
1/4 cup corn starch
1 Tablespoon yeast (any kind)
2 Tablespoons sugar (1T is added to flour mix...1T goes in with yeast and water)
3/4 teaspoon xanthan gum
1 1/2 teaspoon salt
3 or 4 large egg whites (Should equal about a ½ cup)
1/4 cup canola oil (approximately)
2 teaspoon apple cider vinegar
7/8 cup water
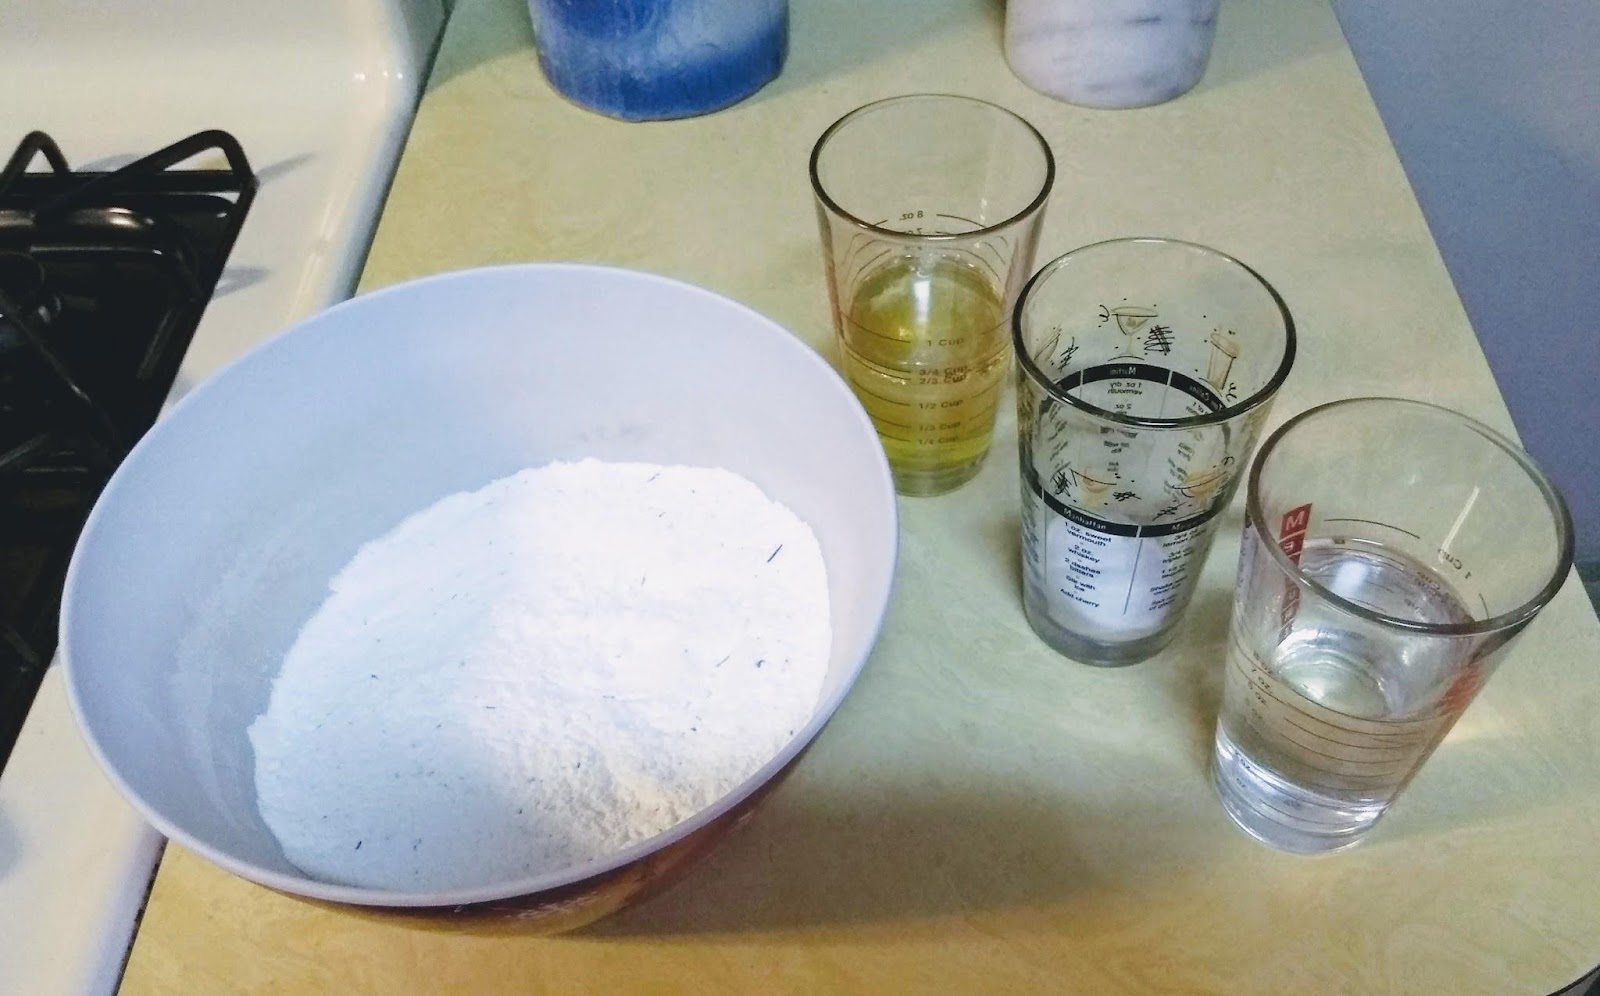
1) Mix together in a large bowl the starches, flours, 1T sugar, salt, xanthan gum and whatever spices you like. (Dan likes 2 teaspoons italian herb mix + 1 teaspoon onion powder + ¼ cup grated Parmesan cheese)
2) Put the yeast and 1 Tablespoon of sugar into a bowl or glass.
3) Put egg whites, oil and vinegar into another bowl or glass. The egg whites here can vary in volume so just add enough oil (+ or - the ¼ cup) so that the egg whites and oil together equal ¾ cup, then add the vinegar. Egg whites and liquids at room temp work best.
4) Water in another bowl or glass.
I use heavy pint beer glasses for steps 2, 3, and 4.
Prepare bakeware. Line whatever you are using with parchment paper. Trim paper away from the top edge of your baking bowl if necessary as this will burn and smoke at 425. Bowl or baguette pan is lined with paper, rings for rolls are put on a parchment lined baking tray. Spray lightly with cooking spray just before pouring in the dough. I like to use olive oil spray. This dough makes 1 loaf, 2 baguettes and 8 or 9 nine rolls depending on how thick you want them.
Heat water to about 110 degrees. I put pint glass in the microwave for 40 seconds. An instant read thermometer could also be used.
Pour water into yeast/sugar mix and let bloom for about 5 minutes. That is about how long it takes to rise up to the top of the pint glass.
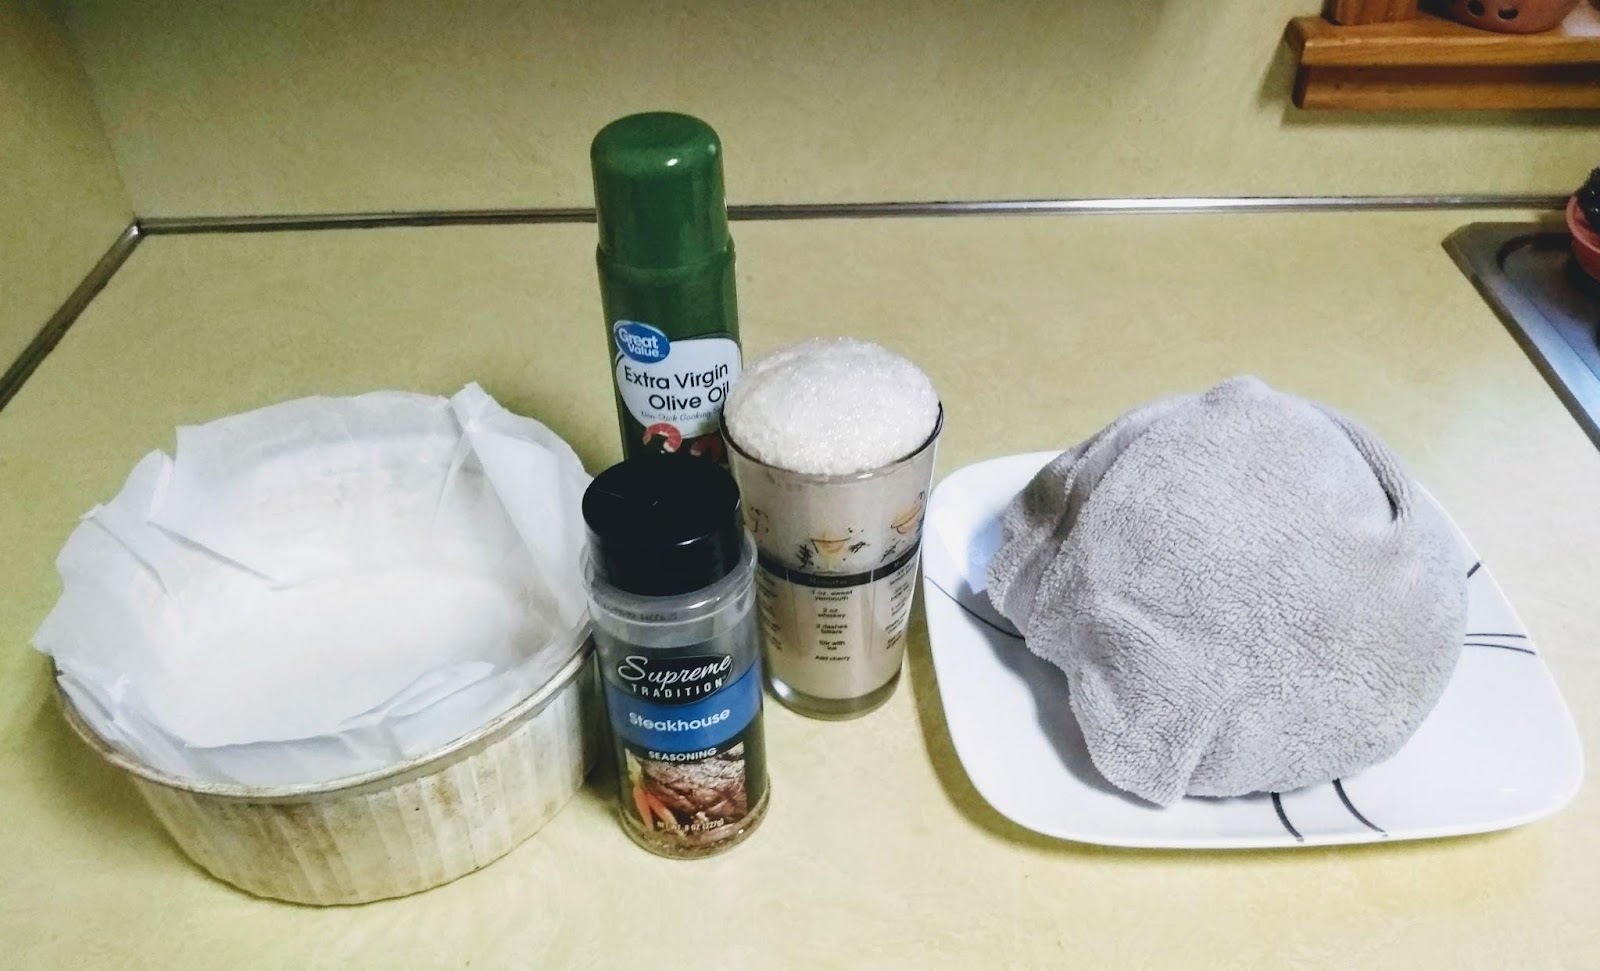
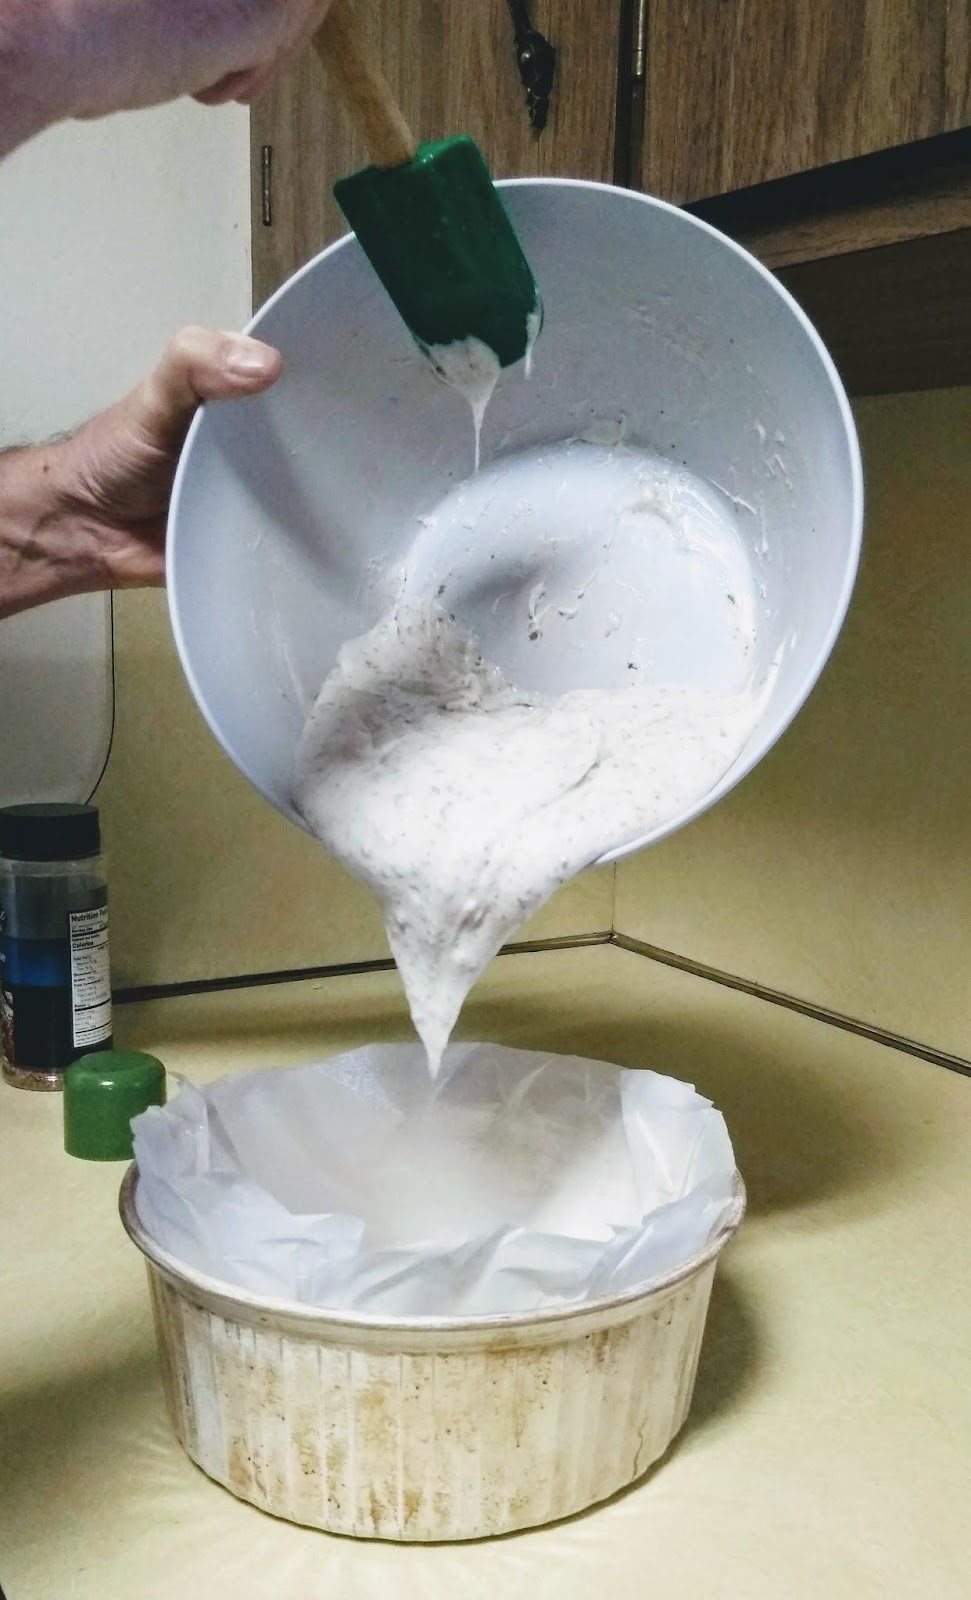
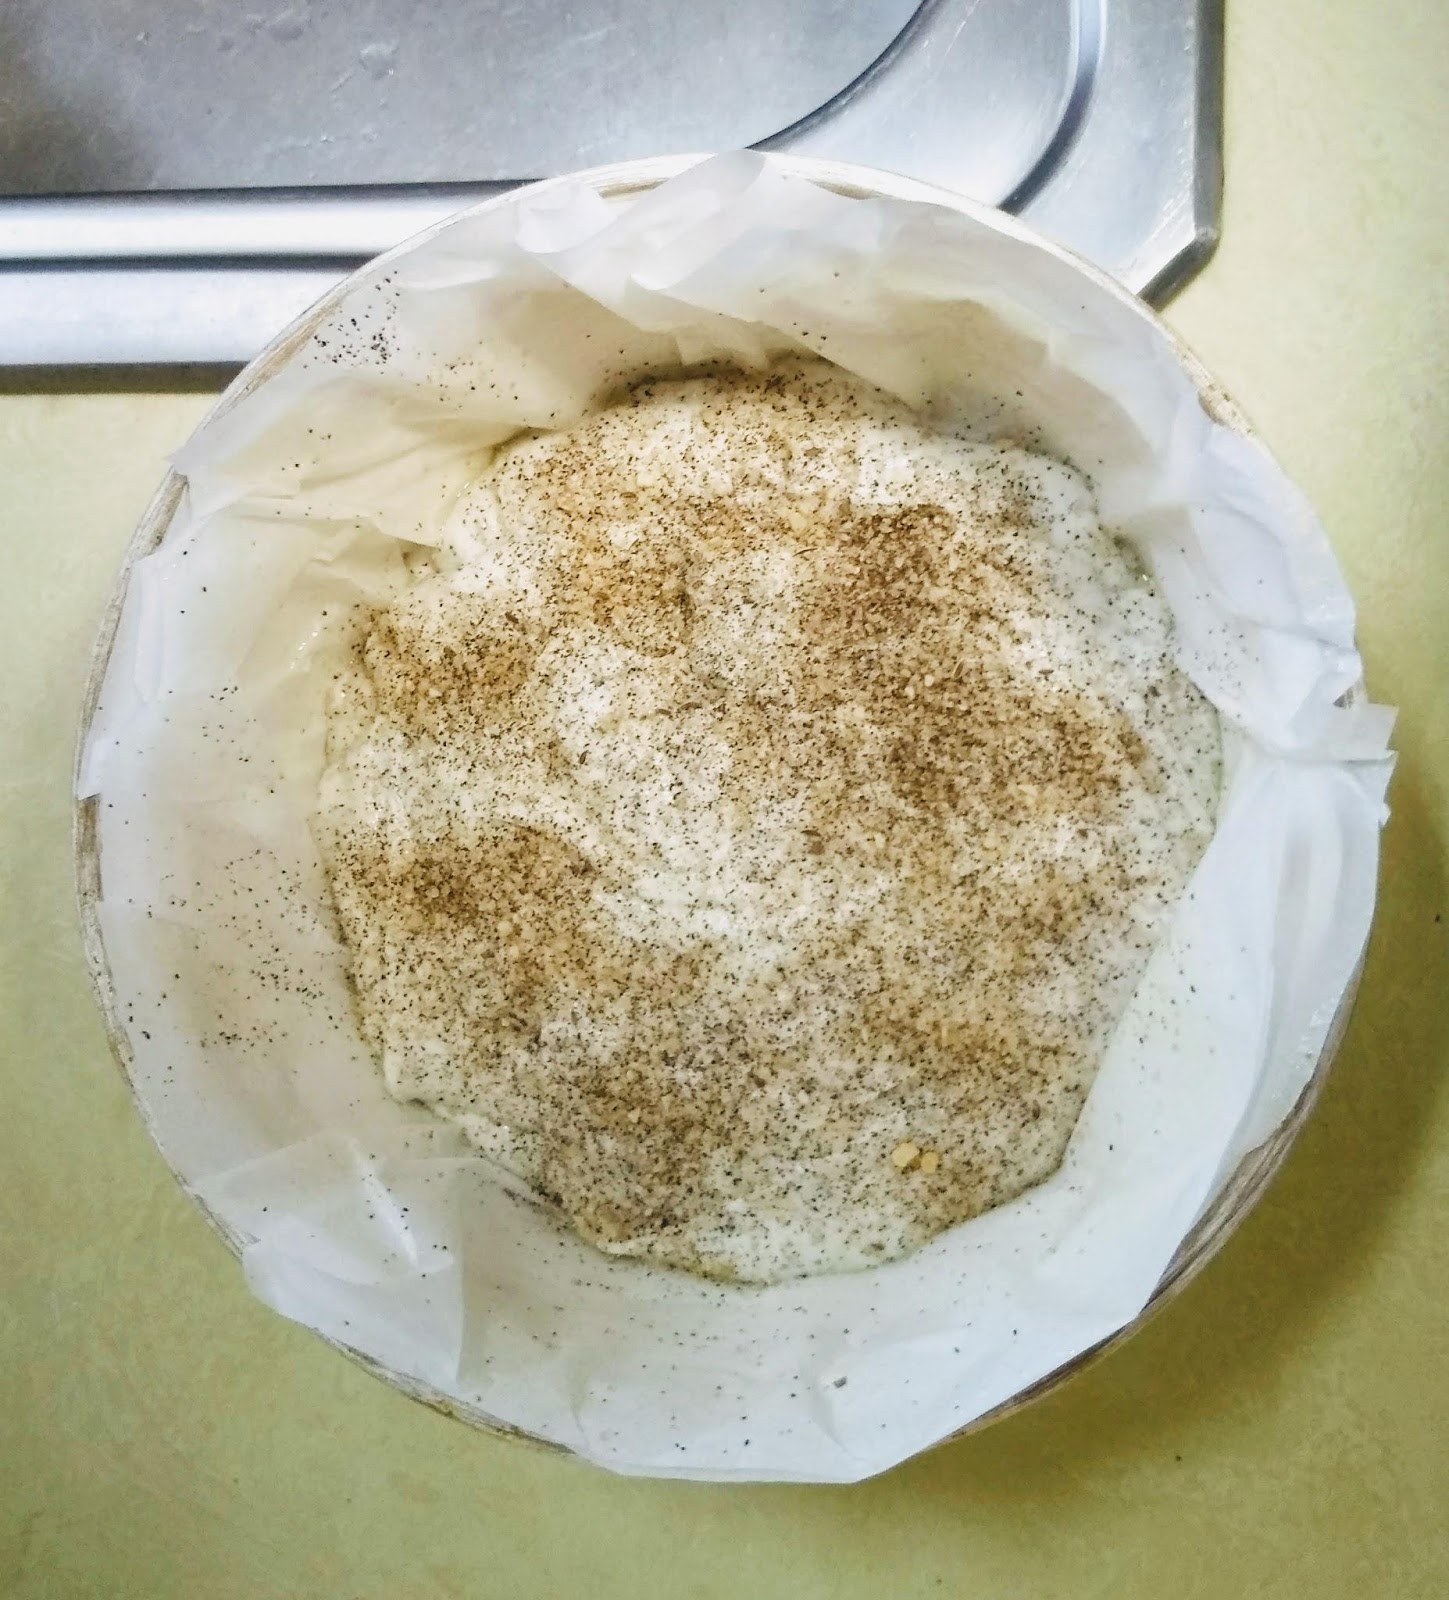
Pour egg/oil/vin mix & bloomed water/yeast/sugar mix into the bowl of starches and dry stuff and stir by hand to blend for about 5 minutes. The dough should look like a very thick pancake batter and be pretty well lump free. I pour the dough into the oiled pan or rings and then sprinkle on some Montreal steak seasoning.
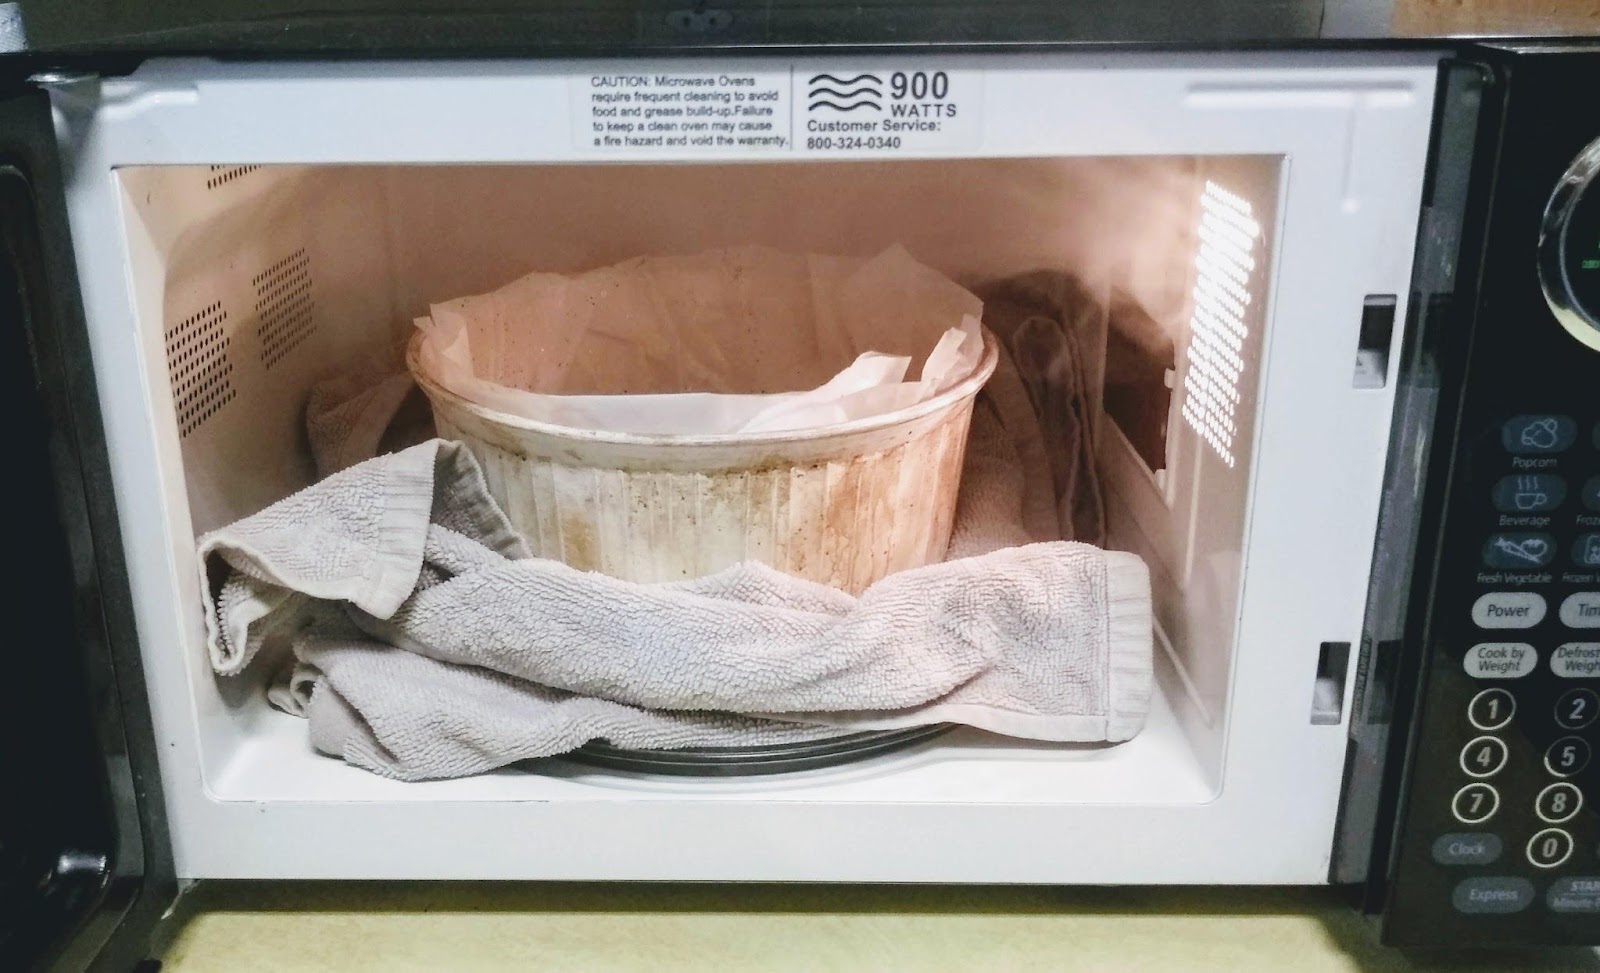
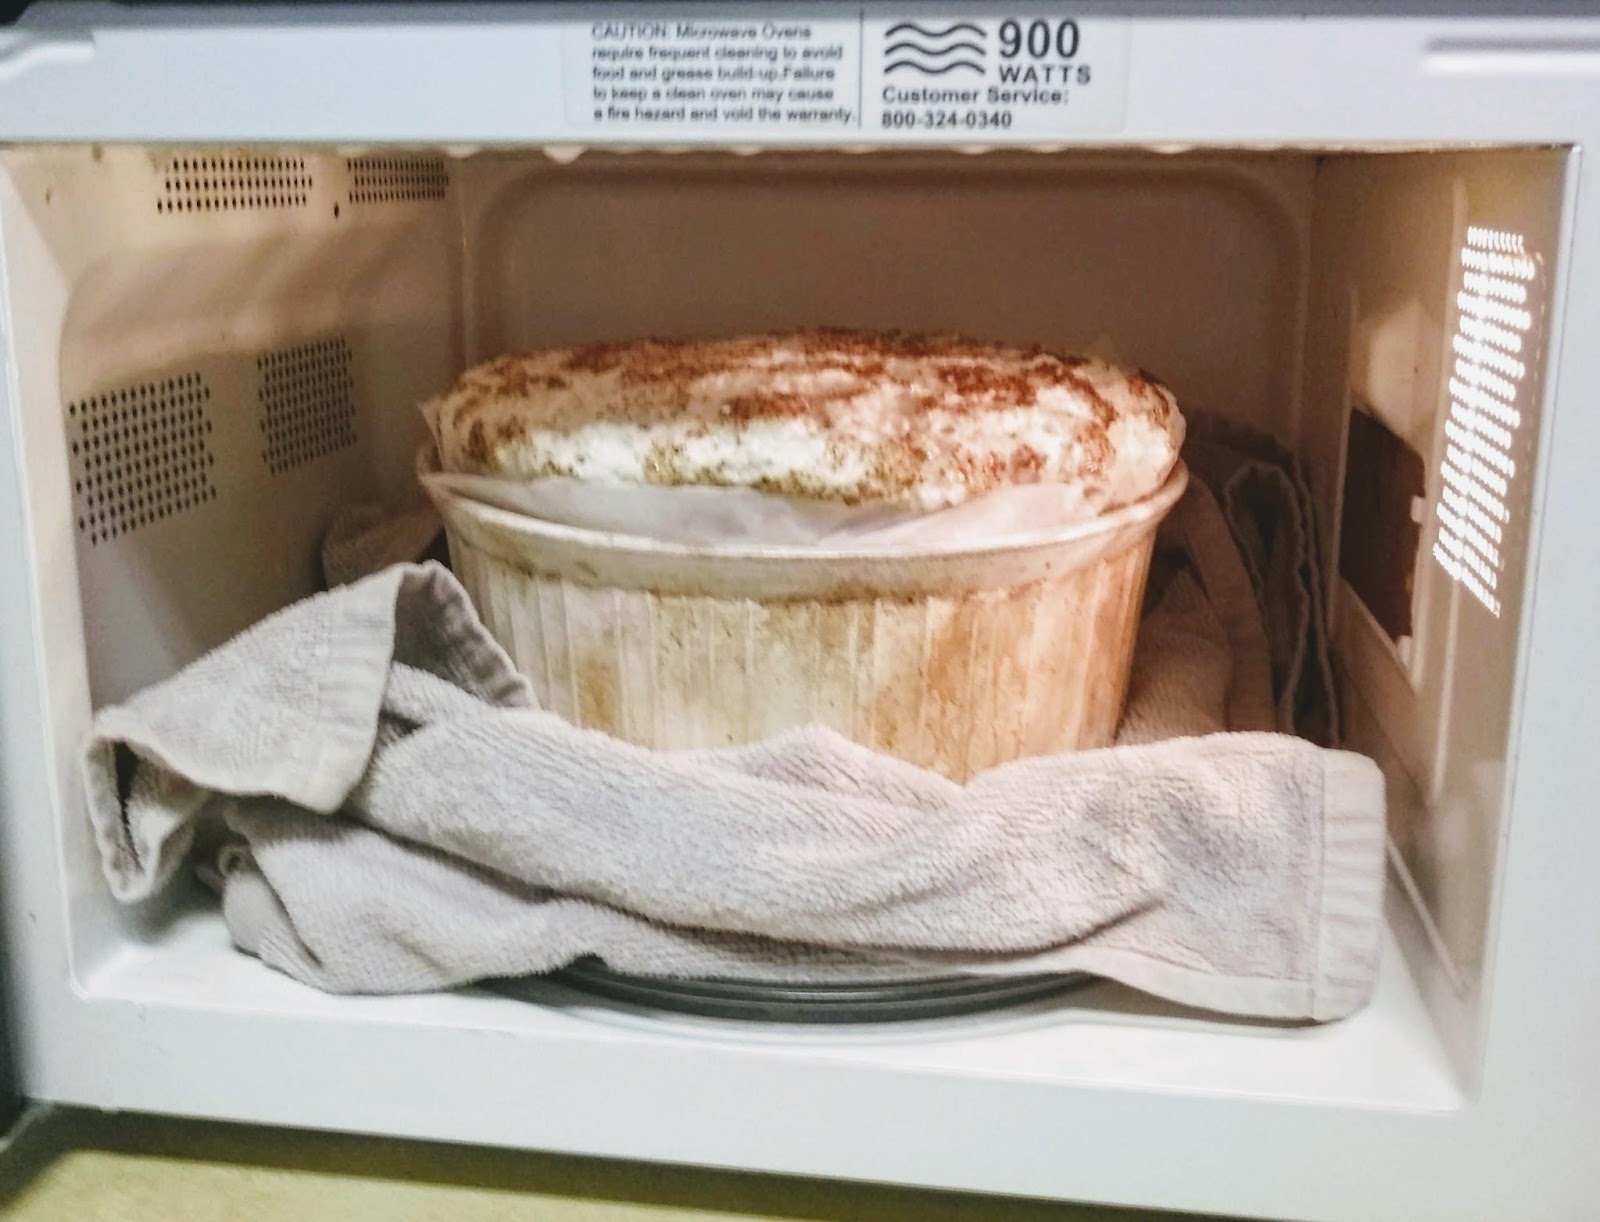
The next step is letting the dough rise and proof in a warm moist spot. This takes 45 min to 1 hour. Just before combining ingredients I soak a large dish towel in water then wring it out and heat it in the microwave for the 5 minutes I am stirring the dough. If I am using a round bread pan I can put it and the warm towel back into the microwave and let it rise in there. My baguette pan and the tray of rings for rolls are too big to fit in our microwave so I use a plastic tub and lid. You could use a cooler or tub or anything that works just so long as it seals well.
When bread or rolls have finished proofing, heat the oven to 425.
Bake loaf for about 1 hour. Rolls take about 30 to 40 minutes, baguettes go 45 to 50 minutes. Halfway through cover loosely with foil to keep from over browning and remove the foil for the last 5 minutes.
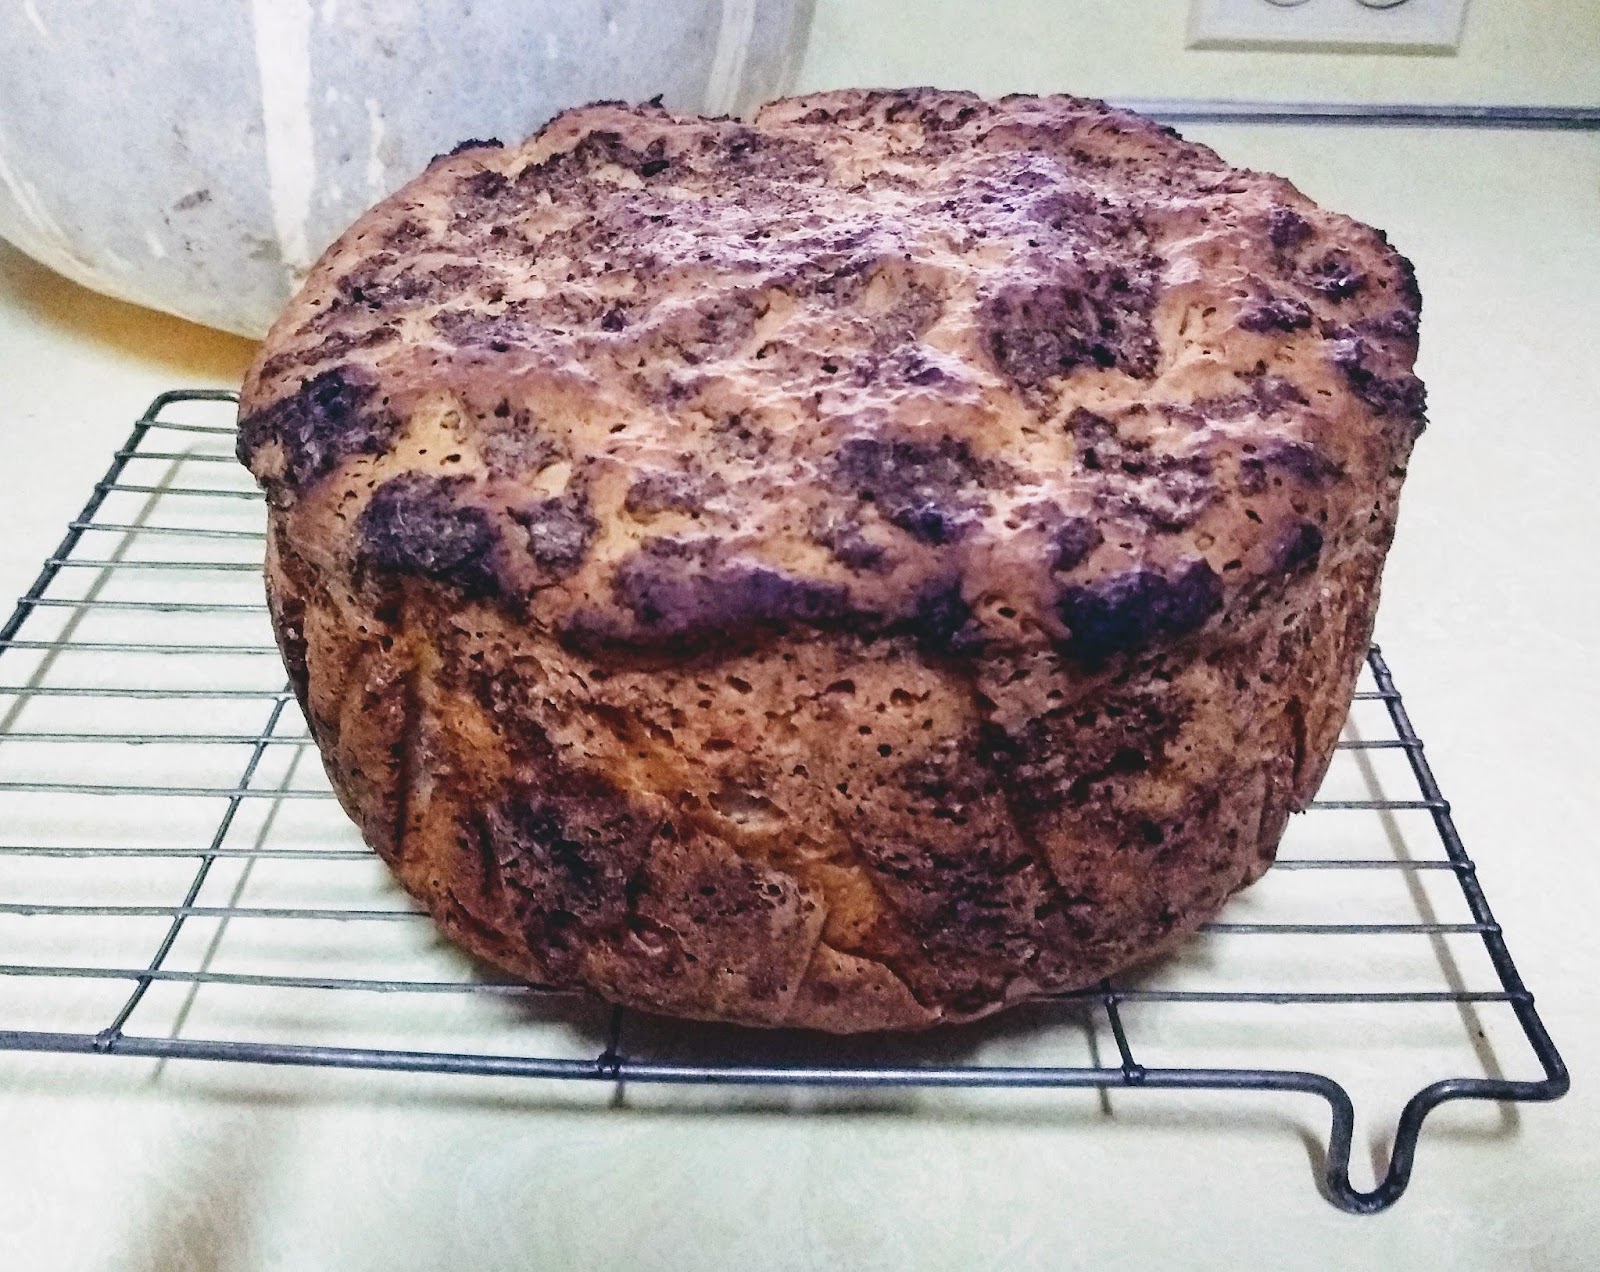
Cool bread on a wire rack. Bread is much easier to slice after totally cool. Without any preservatives this bread can go stale fast so I freeze it after slicing.
The loaf slices thaw best in a toaster oven, the rolls and baguettes I wrap in wax paper and thaw in the microwave.